
Why Epoxy Floors Fail in San Angelo, TX
If you’ve searched for this, there’s a good chance you’ve seen a bubbling, peeling, or cracking epoxy floor — maybe your own, maybe a neighbor’s. It’s a common enough complaint in this market that it’s worth explaining clearly: epoxy coatings don’t fail because epoxy is a bad product. They fail because of what’s underneath it, and in San Angelo, what’s underneath it is different from most of the country.
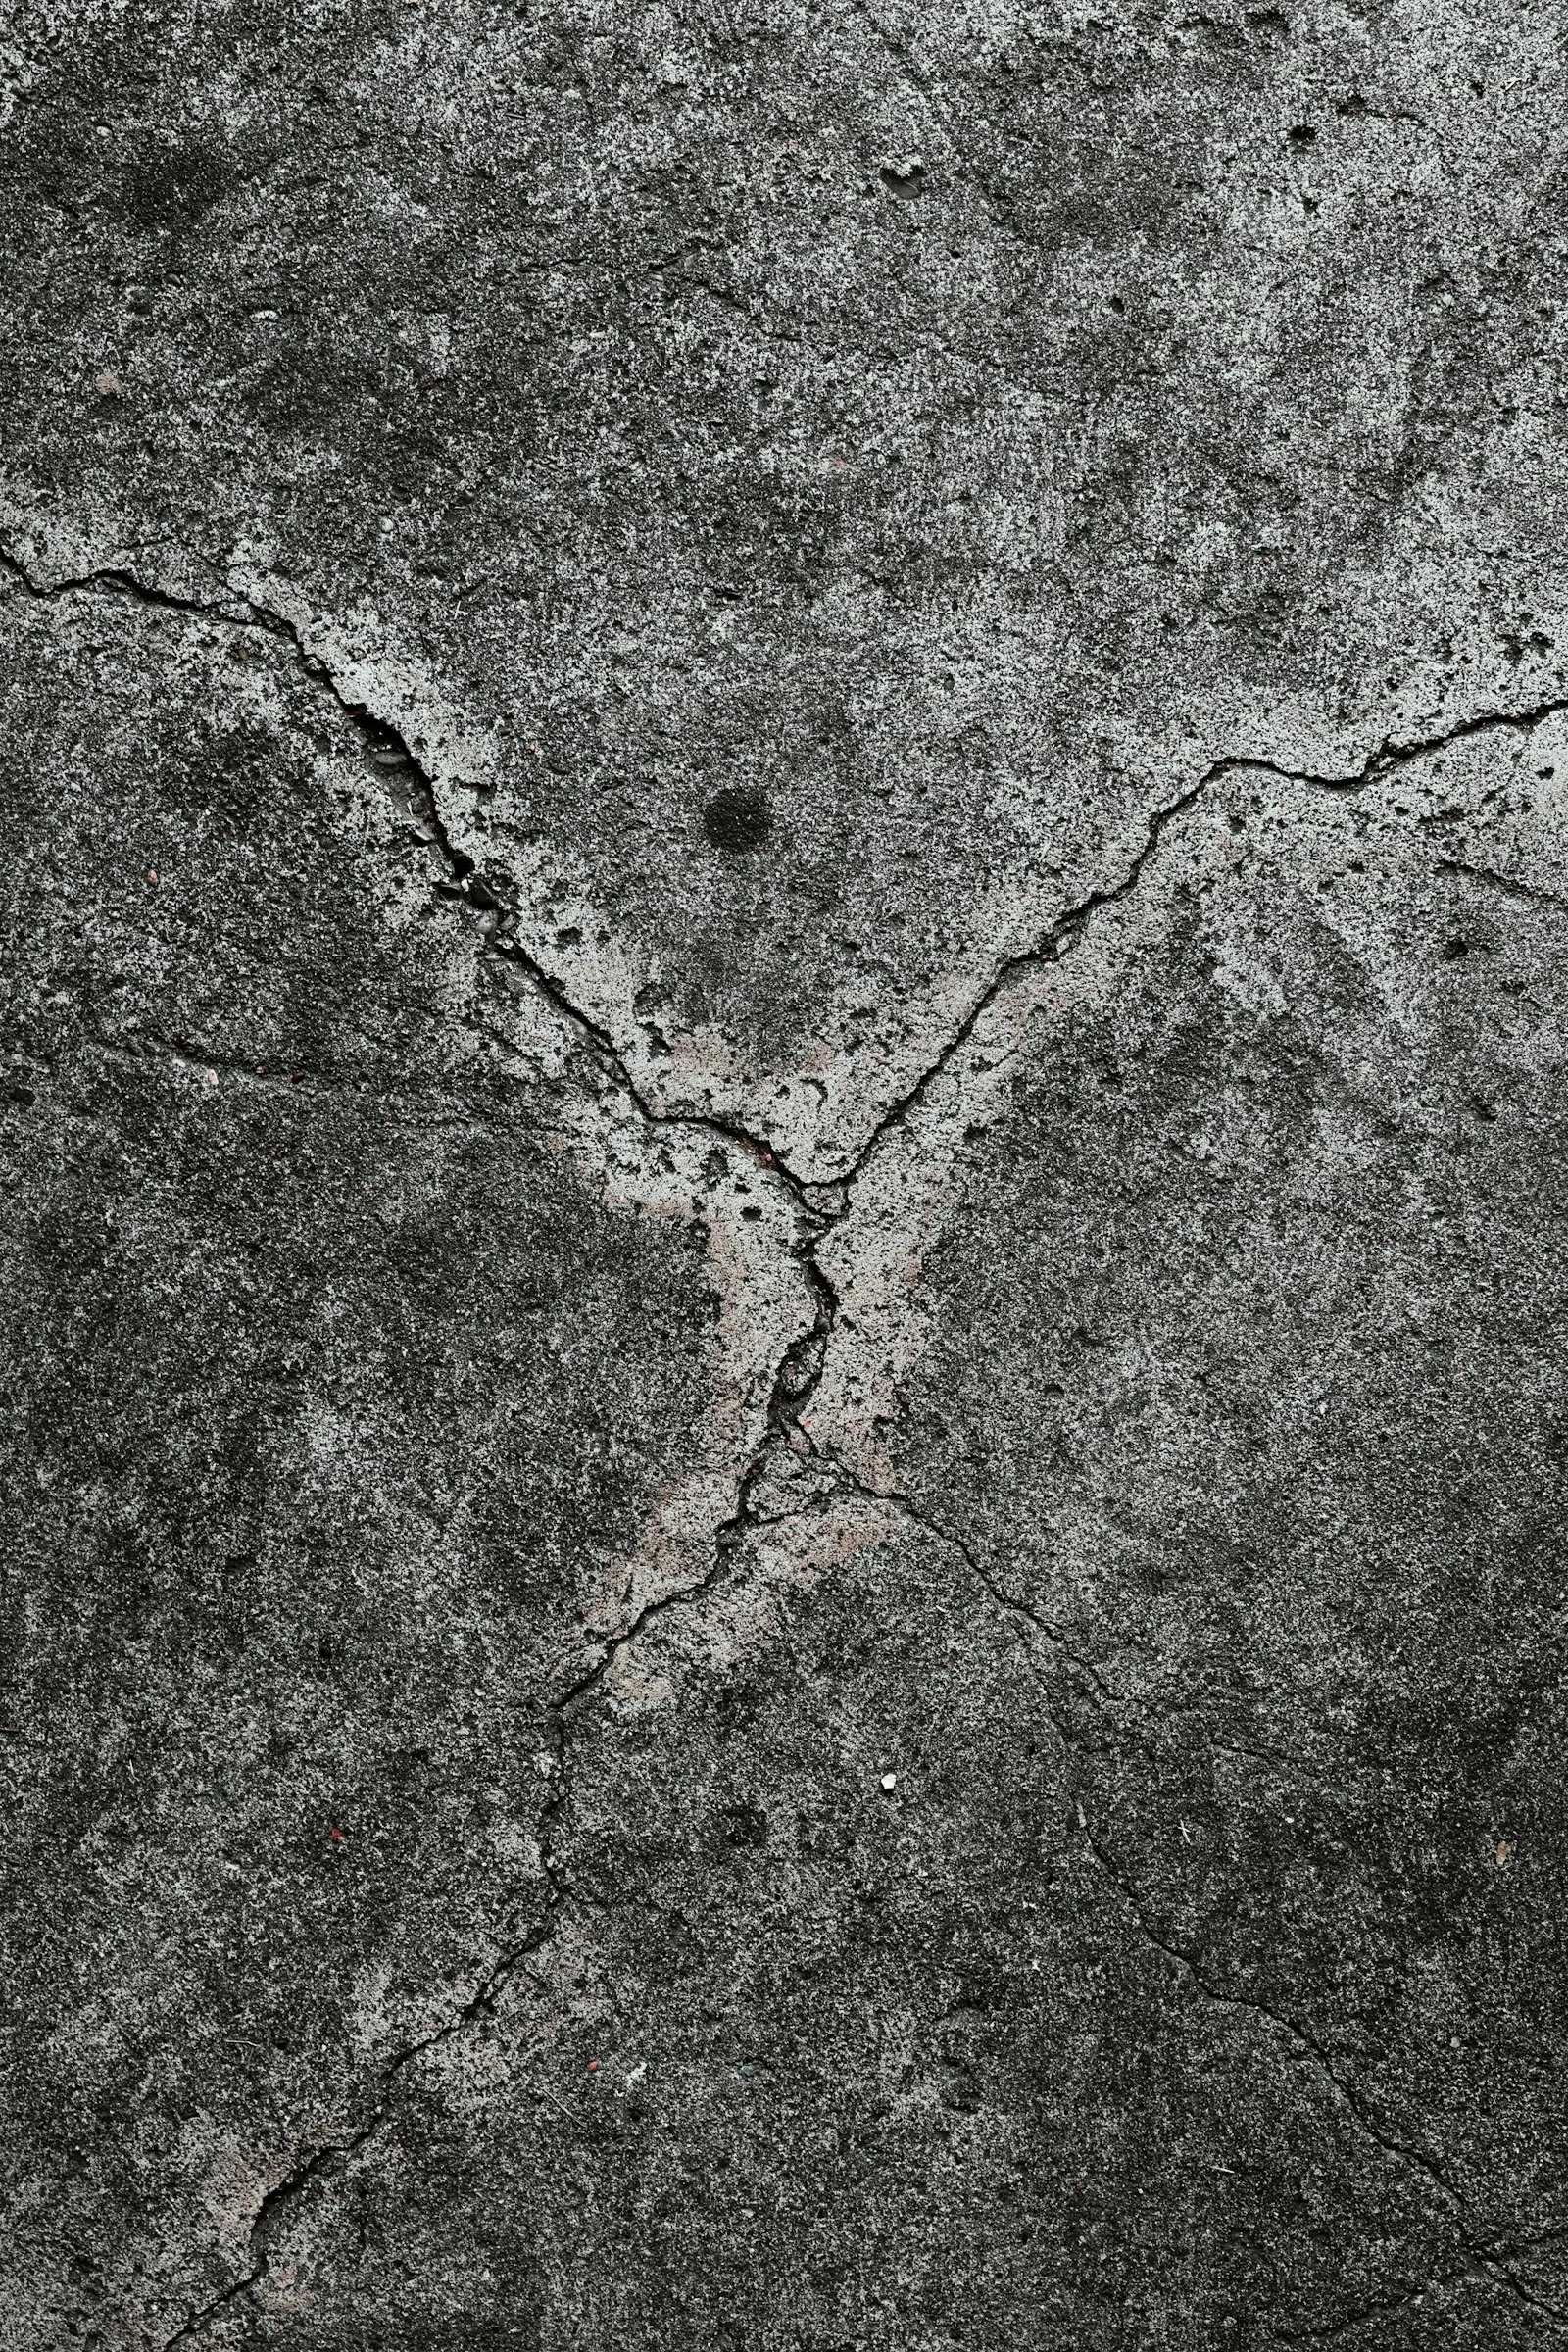
Epoxy coatings don’t fail because epoxy is a bad product. They fail because of what’s underneath it.
West Texas Floor Coatings
The Real Cause: Tom Green County’s Clay Soil
Tom Green County sits on Vertisol clay soil — a shrink-swell clay that expands significantly when wet and contracts when dry. This movement transfers into the concrete slabs built on top of it, causing micro-movement and, over time, cracking that a stable soil type wouldn’t produce. A rigid epoxy coating applied over a slab with this kind of underlying movement is more likely to crack or delaminate along stress points than the same coating applied over a stable-soil foundation elsewhere in Texas.
This isn’t unique to older homes or a specific neighborhood — any slab poured over this soil type is subject to the same underlying movement, though age, original construction quality, and prior repair history all affect how much that movement shows up as visible cracking. It’s also why crack assessment is a standard part of every estimate we do, rather than something we only check if a customer mentions it.
The Second Factor: West Texas Heat
San Angelo regularly sees summer highs in the 90s and low 100s, and concrete slabs — especially in garages and outdoor-adjacent spaces — absorb and radiate significant heat. UV exposure and thermal cycling (hot days, cooler nights) stress the epoxy’s bond and can accelerate yellowing or brittleness in lower-quality or improperly cured coatings. This is why topcoat selection (epoxy vs. polyaspartic, and UV-stable formulations) matters more here than in cooler, cloudier climates.
Moisture Vapor — The Invisible Failure Cause
This is one of the most common and least understood causes of coating failure. Concrete slabs can transmit moisture vapor upward from the ground even when the surface appears completely dry. If a coating is applied without testing for this, trapped moisture vapor pressure builds underneath the epoxy and causes bubbling or delamination, sometimes months after installation. This is exactly why we test every slab for moisture before quoting a job — it’s not a sales step, it’s a failure-prevention step.
The Prep Work Shortcut That Causes Most Failures
Skipping mechanical surface preparation. Many DIY kits and lower-cost installers rely on acid etching to prep the concrete, which cleans the surface but doesn’t open the concrete’s pores the way diamond grinding does. The result is a coating that sits on top of the slab rather than mechanically bonding into it — and a coating that isn’t truly bonded will eventually peel, especially under the added stress of clay-soil movement and West Texas heat.
How to Tell If an Existing Floor Was Prepped Correctly
If you’re evaluating a floor someone else installed — whether you’re buying a home or just trying to understand why your own coating is struggling — there are a few visual clues. A properly ground surface usually shows a slightly textured, matte look at the edges or in less-visible corners where the coating may be thinner. An acid-etched-only surface tends to look glassier and more uniform, sometimes with a slightly slick feel even when clean. Peeling that starts at edges, seams, or corners rather than in the middle of an open area often points to a bonding issue from inadequate prep, since those transition points are where a weak bond typically gives way first.
Age Isn’t the Only Factor — Installation Quality Compounds Over Time
A coating installed with proper prep and testing doesn’t just start out more durable — the gap between a well-installed and poorly-installed floor tends to widen over time rather than stay constant. Each thermal cycle, each wet-dry swing in the soil, and each year of UV exposure puts a small amount of additional stress on the bond between coating and concrete. A strong mechanical bond distributes that stress across the whole surface; a weak bond concentrates it at the weakest points, which is why failures often seem to appear suddenly after a year or two rather than gradually from day one. By the time visible symptoms show up, the underlying bond has usually been compromised for a while.
This is part of why we frame testing and prep as prevention rather than an upsell — the cost of doing it right upfront is far smaller than the cost of a full recoat a year or two into a floor’s life. If you’re weighing that trade-off for your own project, our Cost & Pricing page breaks down what proper prep actually adds to a quote.
Common Failure Symptoms and What They Mean
| Symptom | Likely Cause |
|---|---|
| Bubbling within weeks to months | Moisture vapor trapped beneath the coating |
| Peeling at edges or seams | Poor surface prep (acid-etch only, no grinding) |
| Cracking that follows a line | Underlying slab movement/crack telegraphing through |
| Yellowing over time | UV-unstable coating or topcoat not suited for sun exposure |
| Chalky or dull surface | Wear of a low-durability topcoat under heavy UV/heat exposure |
How We Prevent These Failures
This same approach applies whether we’re looking at a garage floor, an interior room, or a commercial facility — the underlying causes of failure don’t change based on the size of the space.
Frequently Asked Questions — Epoxy Floor Failure
More questions? Visit our full FAQ page, or see our Cost & Pricing page to understand how prep needs factor into your quote.
Prefer to talk it through first? Contact us for a free on-site inspection — no obligation.
Don’t Let Your Floor Become Another Failure Story
We test before we coat.
Ready to do it right? Read our step-by-step installation process, learn about concrete crack repair before coating, and see frequently asked questions from San Angelo homeowners.